Have you ever been driving and come across a windmill and wondered what its purpose was? Or how they work? Or where does the windmill energy come from? Good questions!
Windmills convert the power of the wind into energy. Wind moves the windmill's blades, which turns a device that creates energy like electricity. The idea of converting wind power into windmill energy has been around for thousands of years. The first true windmills were developed in the middle ages in the Middle East. And windmills as we know them today, standing upright, were first used in northwest Europe in the 12th century.
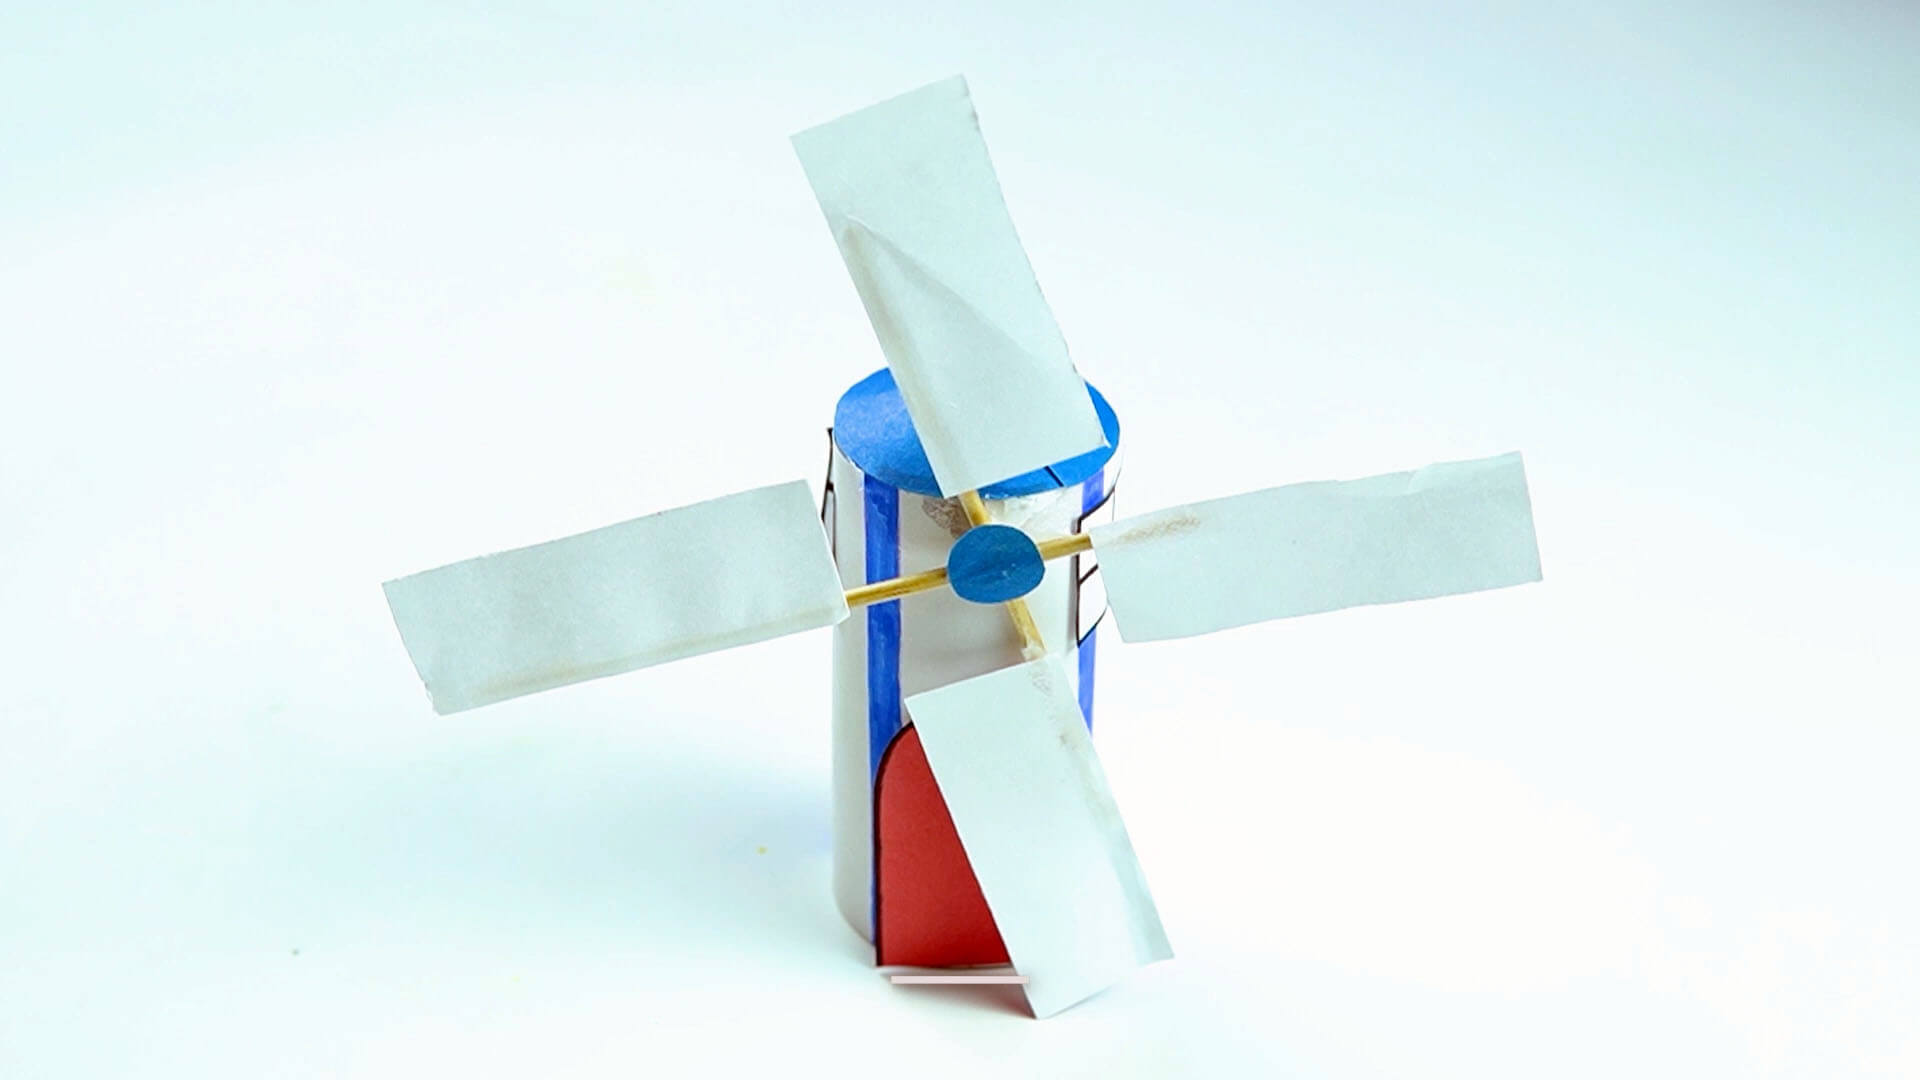
Introduce your little one to windmills and the idea of wind power by building windmill made of paper! Once your little engineers build the windmill, take it outside or use a fan to see the blades rotate in the wind.
Ready to blow their mind? Let's get started!
Materials Needed
- Card Stock
- Toilet Paper Roll
- 3 Wooden Skewers
- 2 Plastic Pony Beads
- Single Hole Punch
- Scissors
- Pencil
- Glue Stick
- Hot Glue Gun
- Tape
- Paper Roll Windmill Template
Step One

First, grab a piece of paper and cut out four perfect squares. Begin outlining the squares by drawing lines around the edges and one down the middle. These will be the windows! Once they're done, set aside.
Step Two

Grab your two wood skewers and glue a paper blade on the top half and one paper blade on the bottom half of the skewer. Repeat this step to create two blades. Next, you will hot glue the two skewers together at the center placing them in an X position so the blades do not overlap. Once glued, set aside to dry.
Step Three

Lay out a piece of paper that is the width of a toilet paper roll so that you can roll it completely around the roll. Draw and color-in lines along the roll at about 2-inch intervals.
Step Four

Glue your windows on this piece of paper. Feel free to make a small door, too, and glue that to the bottom.
Step Five

Grab your toilet paper roll and wrap the windmill building around the roll, using glue to attach.
Step Six

Cut a round piece of paper a tiny bit larger than the top of the toilet paper roll. Grab scissors and cut halfway on one side of the paper. Once that is done, fold the paper into a cone shape and glue it together. Once this dries, glue the cone to the top of the windmill.
Step Seven

Now, grab another skewer and cut 1/4 of the stick. Long enough to stick into the windmill for it to spin, but short enough it doesn't go all the way through the windmill. Once, you're done place the pony bead onto the end stick and hot glue it onto the center backend of the blades. Once, you're done stick the skewer into the front center of the windmill (right under the roof above the door).
Step Eight

Push down on one of the blades and watch it go around! To make it even more fun, take it outside and watch the wind blow the windmill on its own!
Don't forget to share your windmills with us on social media!

Leave a comment