
Looking for a fun family STEM project? How about one that can walk on its own? Now that sounds interesting. This DIY galloping horse walks back and forth by rocking on its curved feet. Gravity pulls the feet down as it rocks from one foot to the other. Physics is fun! You can even make it a competition by adding a ramp at the end! Heads up parents, this project may be a little more difficult for younger kids to cut/fold for it to work! Happy DIY paper crafting!
Materials Needed:
- Cardstock Papers
- Scissors
- Pencil
- Ruler
Step One

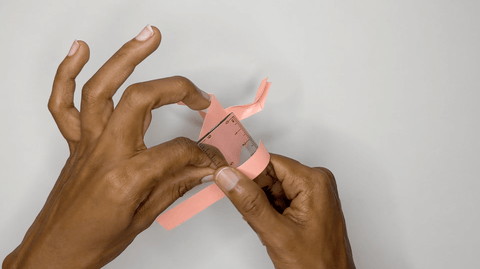
Grab your cardstock paper and ruler! Begin measuring and drawing the shape of the horse. You will want to create 9 rectangle shapes 3x3. Each rectangle will be about 2 inches by x 0.5 inches. Then, begin cutting around the perimeter!
Step Two

Step Three
Step Four

Let's get ready to walk your horse! Place it on a flat surface with a slight slope so that gravity pulls your horse downward. Tip - the horse will usually walk best when the legs are straight and the head is up higher. Make adjustments as needed!


Leave a comment